Now it's getting interesting! What we've currently been working on mostly is what is known as the front-end of the app: the visual interface with which the user is actively interacting. However, behind the front-end there usually also resides a back-end, which handles a lot of useful things behind the scenes, such as data storage. We won't invest as much time into building this back-end as we did with our front-end, because there are many existing solutions for this. We'll be using Google's Firebase.
Creating an account at Firebase
To use Firebase, we're gonna need a Google account. There's a pretty big chance you already have one, if you use services such as GMail. If not, start by making an account. Once you have an account and you're logged in, proceed to https://firebase.google.com/ and click on the big shiny Get started button.
This should bring you to the Firebase landing page:
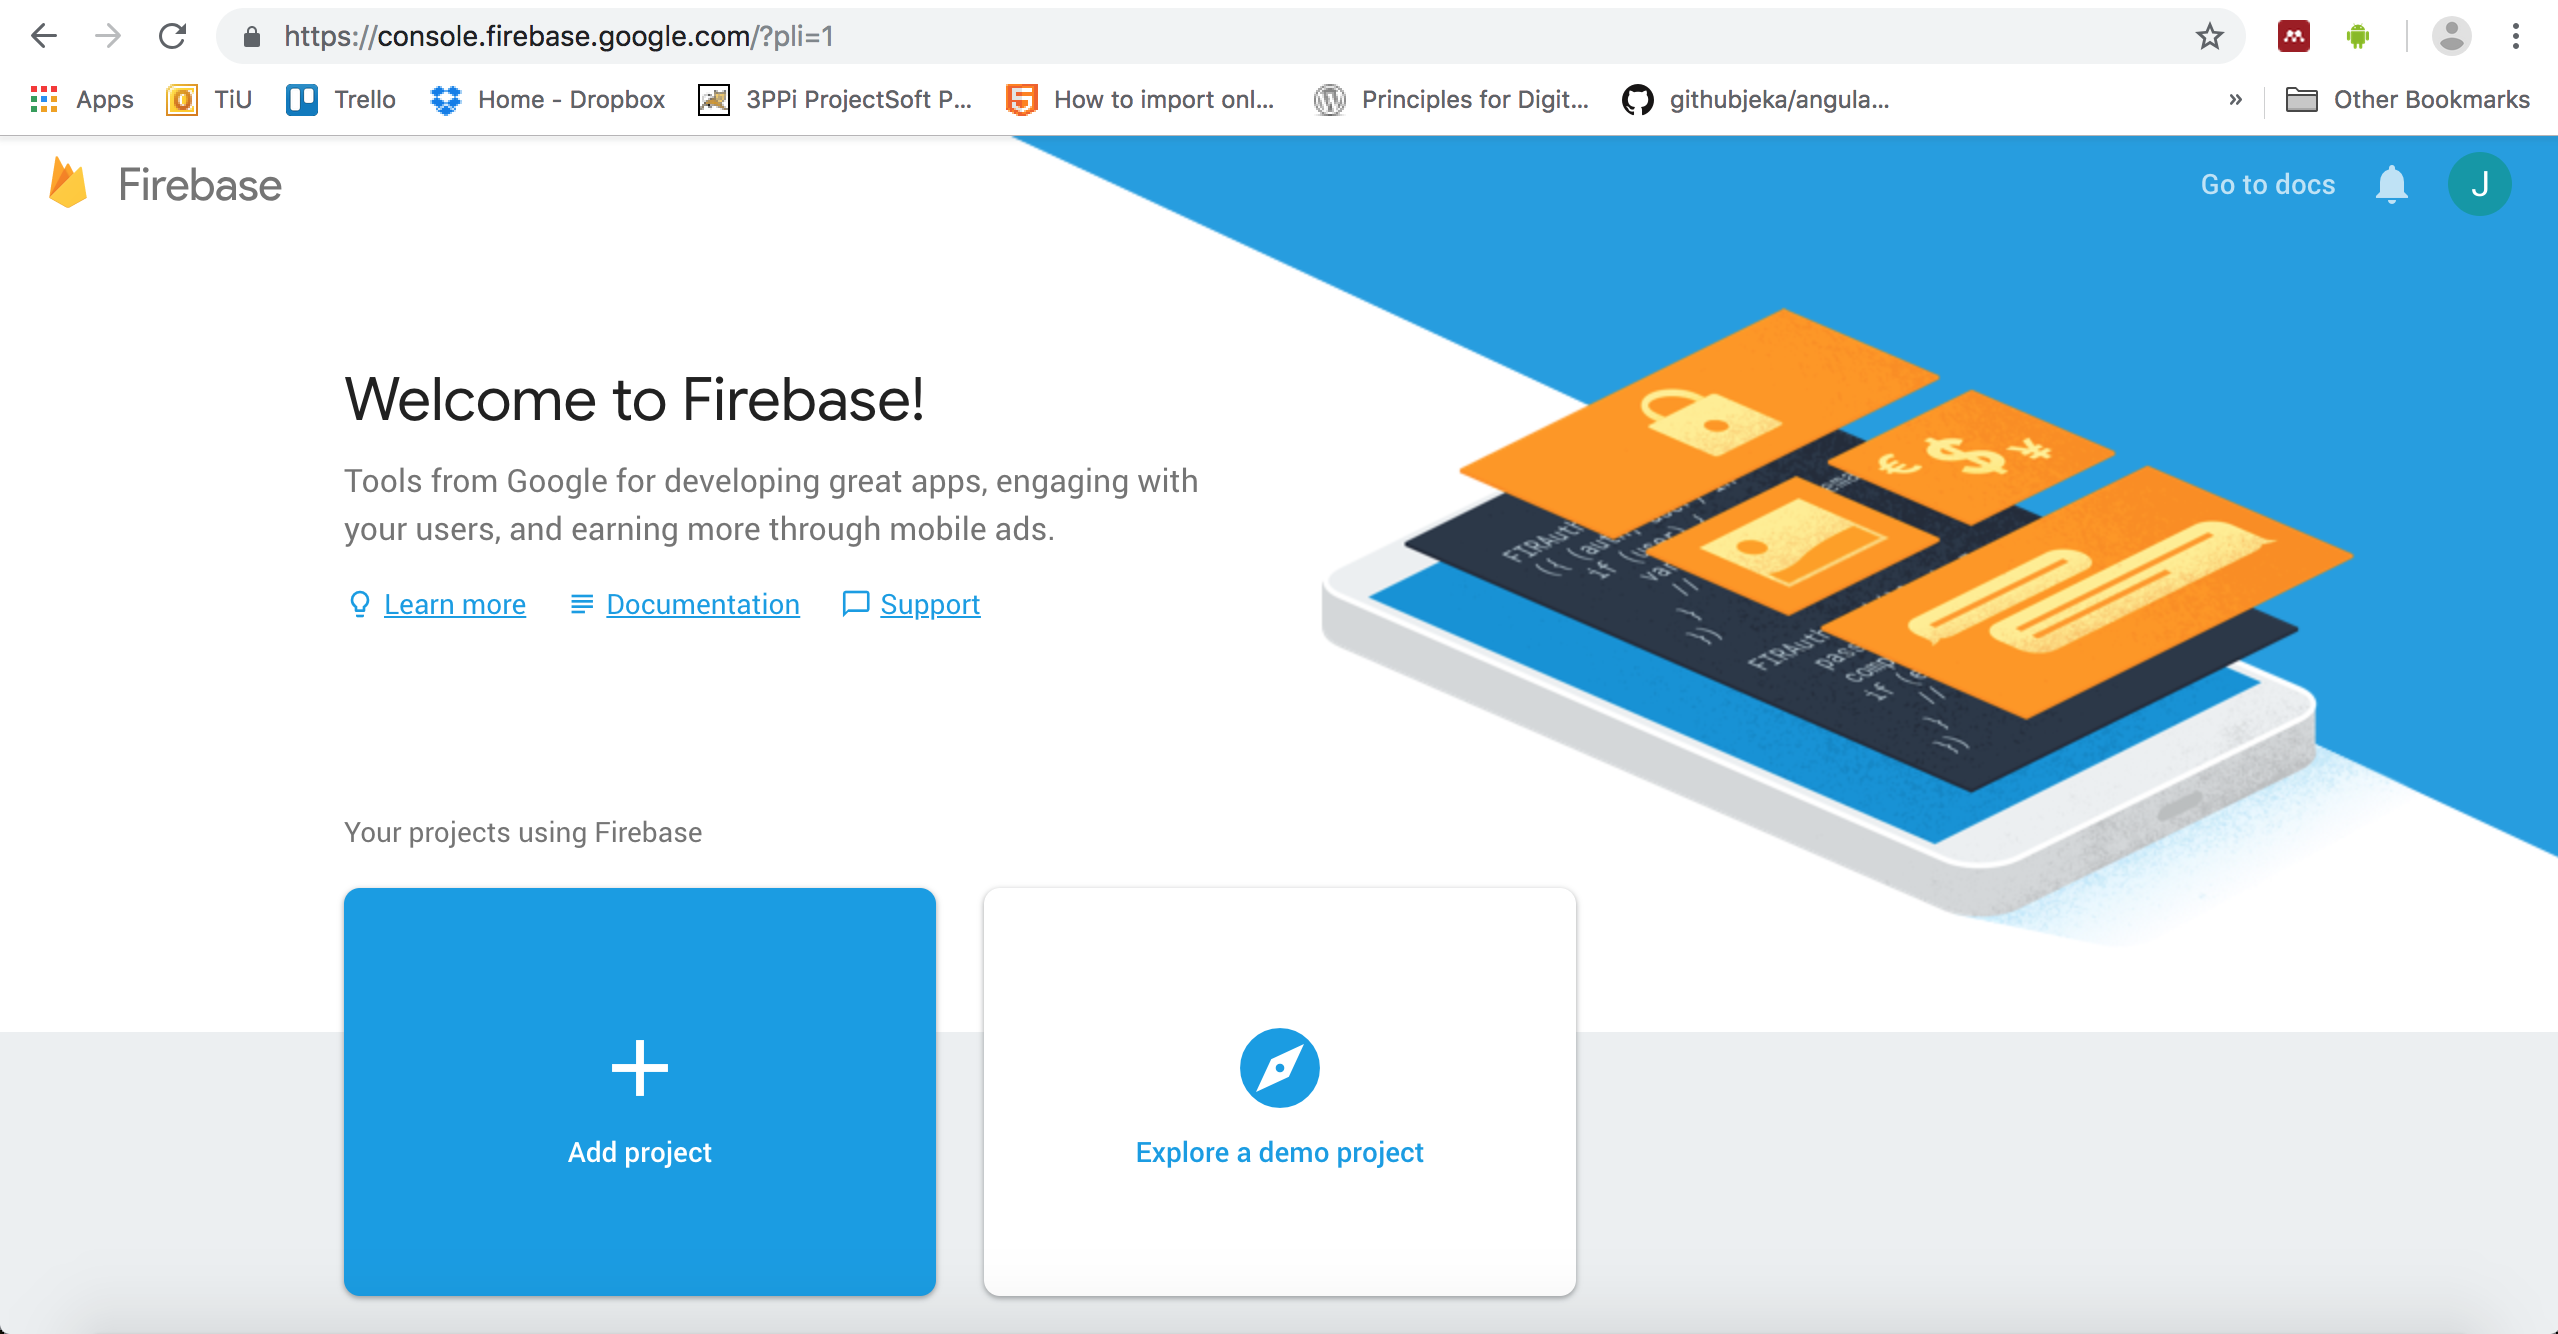
Click on Add project and fill in the details of your project:
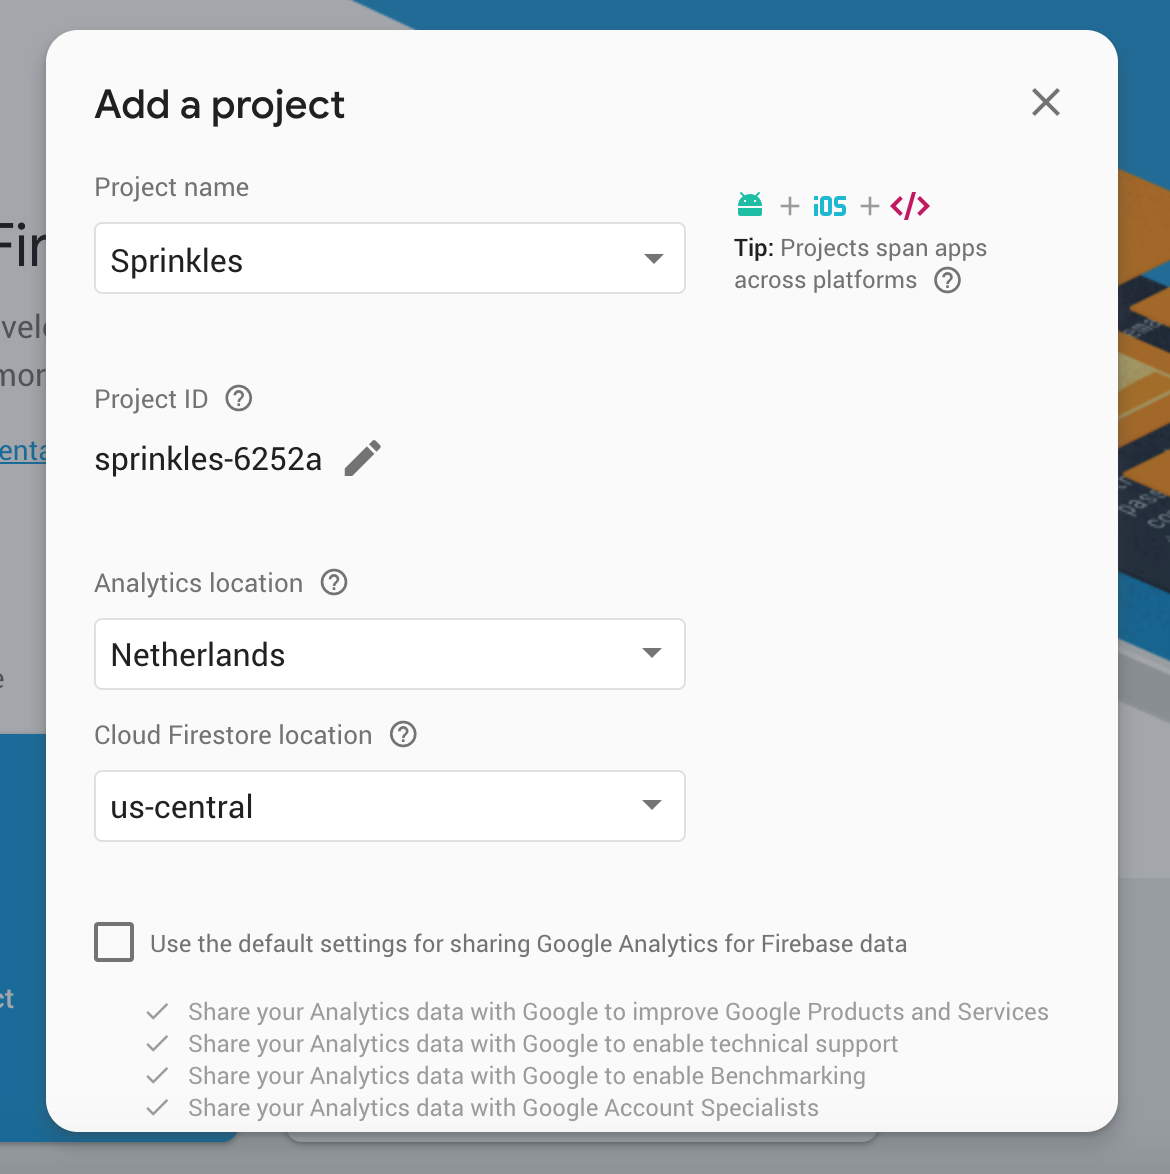
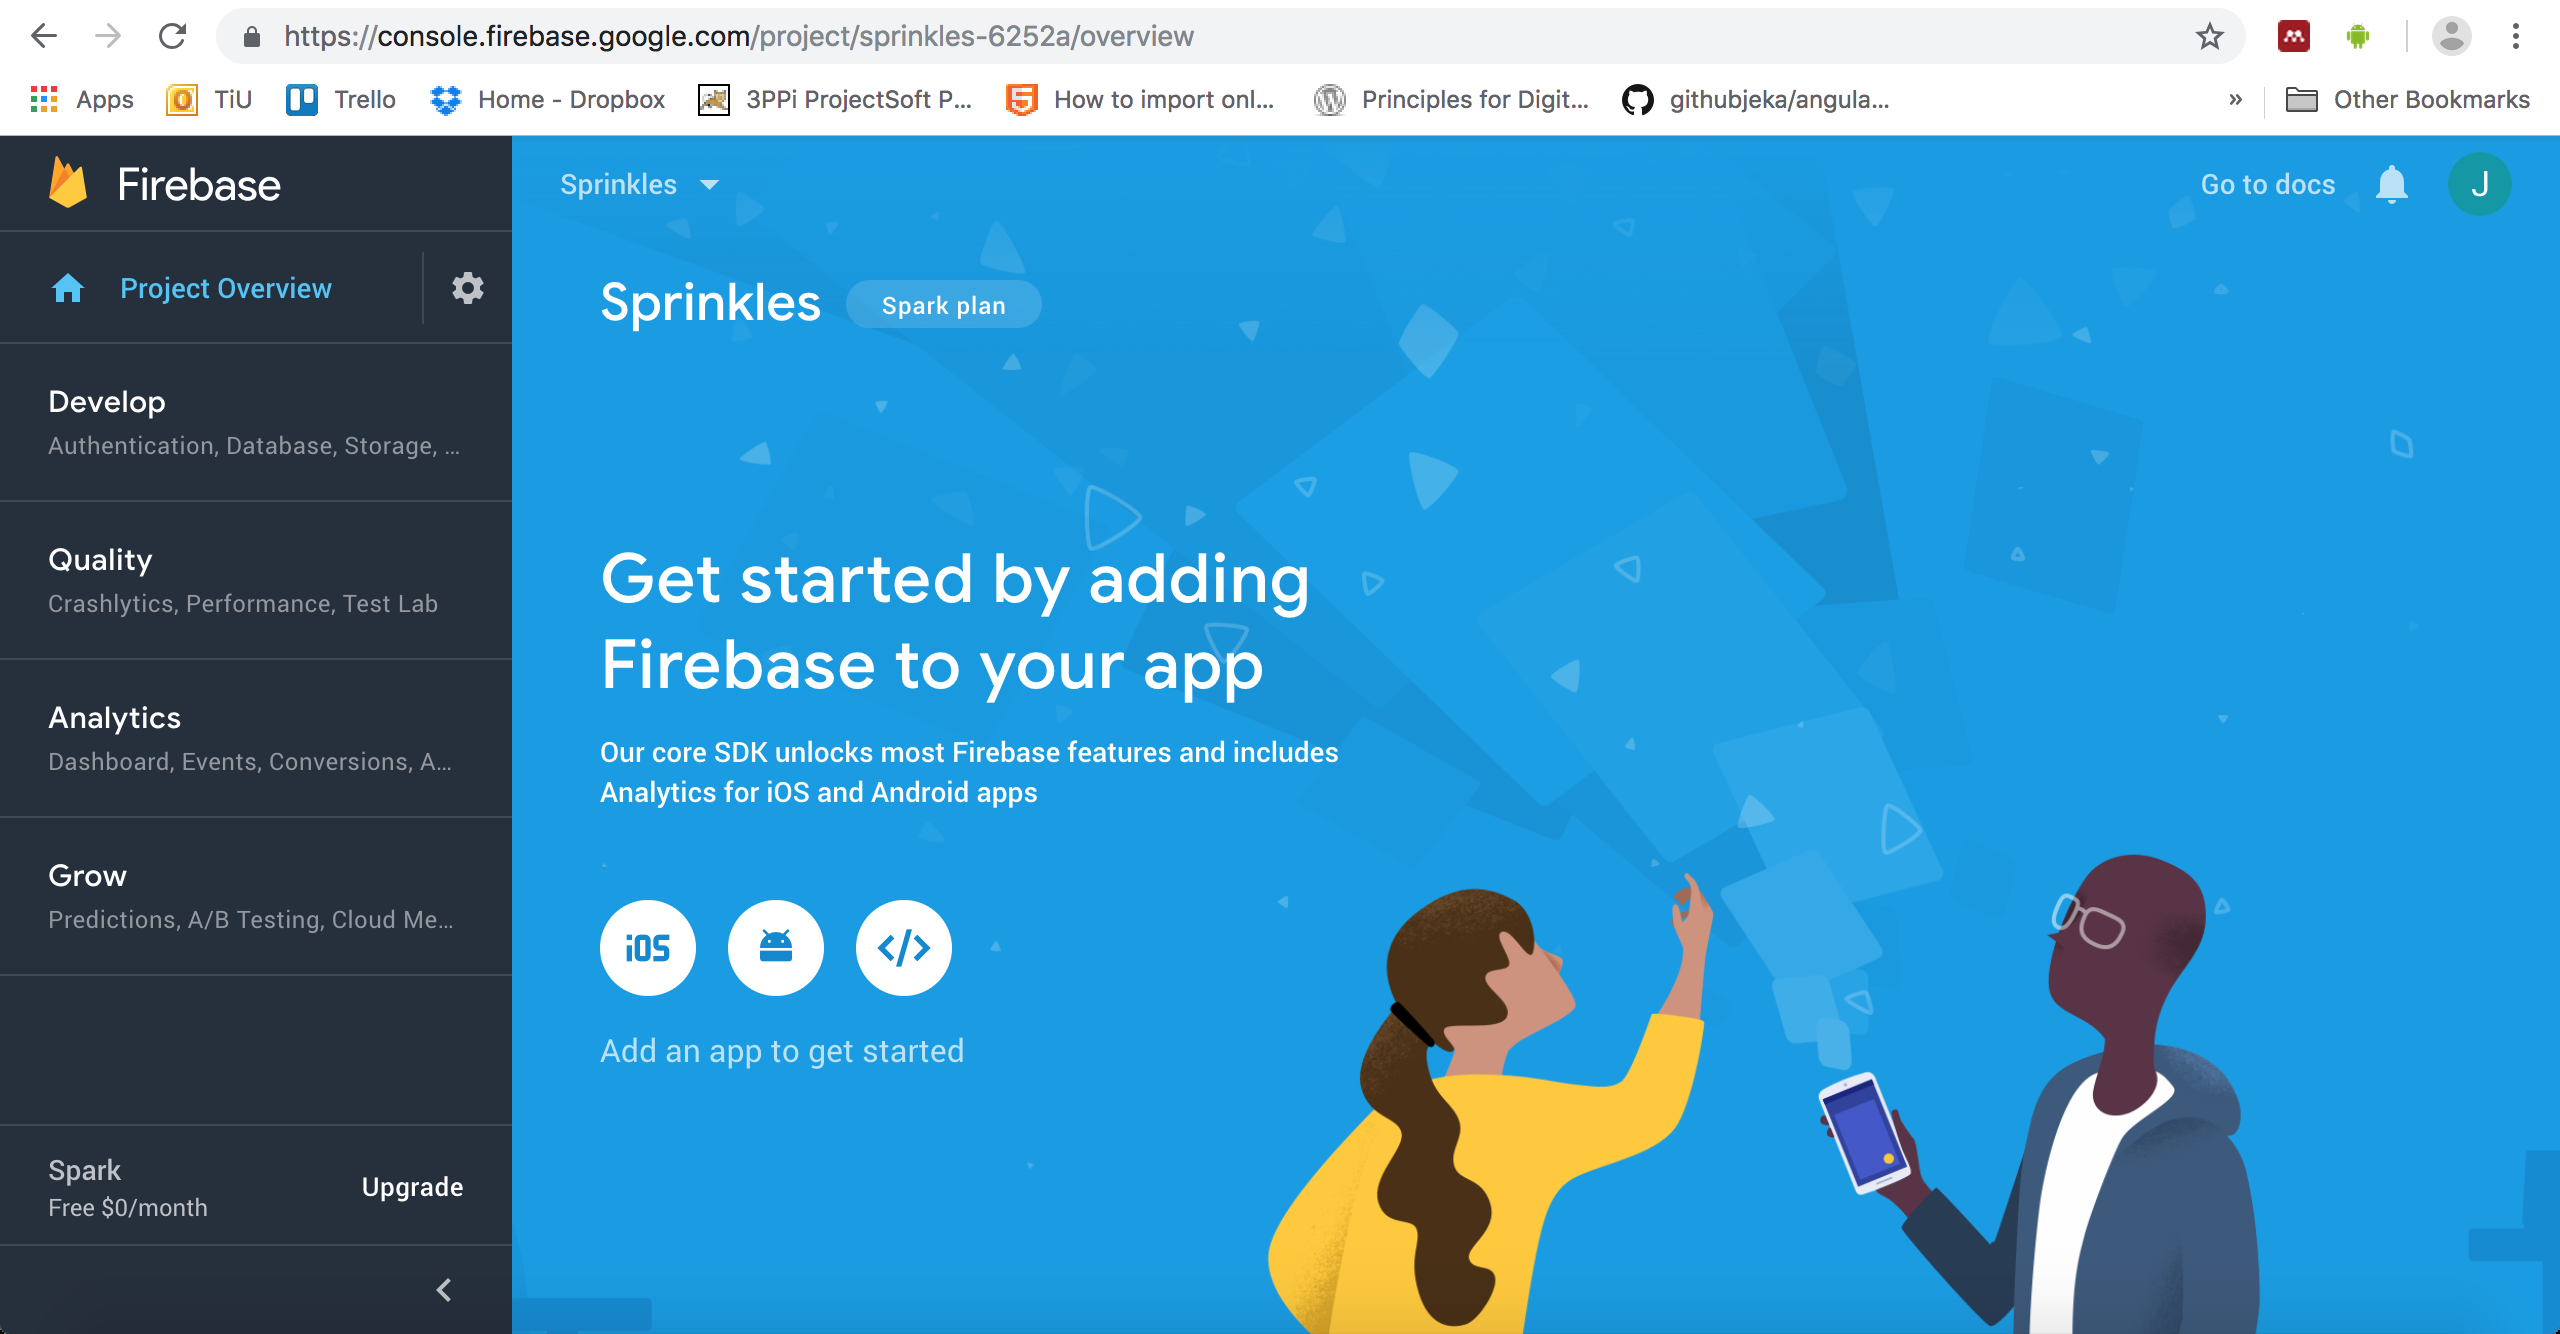
Click on continue and select the types of data you would like to share with Google (I chose none, sorry!). Finally, press the Create project button, wait for preparations to complete and then press continue. You should now end up with an overview of your project:
Linking Firebase to our app
The first thing we should do is to actually connect Firebase to our app. In Firebase, still in the Project Overview click on the web icon that looks like </>. A pop-up should appear with some code in it. Copy this code and paste it into your project, into the /public/index.html file. Look for the <body> and </body> tags and put the code you copied in between, like so:
  <body>
        <script src="//builds.framerjs.com/version/latest/framer.js"></script>
        <script src="https://www.gstatic.com/firebasejs/5.5.3/firebase.js"></script>
        <script>
          // Initialize Firebase
          var config = {
            apiKey: "AIzaSyADTba_ICB4U3Rikj09r1_ucWG85sFDagg",
            authDomain: "sprinkles-6252a.firebaseapp.com",
            databaseURL: "https://sprinkles-6252a.firebaseio.com",
            projectId: "sprinkles-6252a",
            storageBucket: "sprinkles-6252a.appspot.com",
            messagingSenderId: "642792542621"
          };
          firebase.initializeApp(config);
        </script>
        <script src="main.bundle.js"></script>
    </body>
Important note: don't copy exactly the code I have above, because it only works with my particular Firebase configuration — you need to copy the code that appears in your own pop-up while logged into Firebase! There's a small change in settings we need to make in order to have Firebase behave nicely with storing our timestamps. To do that, add the following code below firebase.initializeApp(config);:
const firestore = firebase.firestore();
const settings = {
  timestampsInSnapshots: true
};

firestore.settings(settings);
Adding login functionality
Now let's allow users to actually register for our app and log in. We can do this by selecting Develop in the menu on the left, and then the option Authentication. At the top of the screen that shows up on the right side, select the tab Sign-in method:
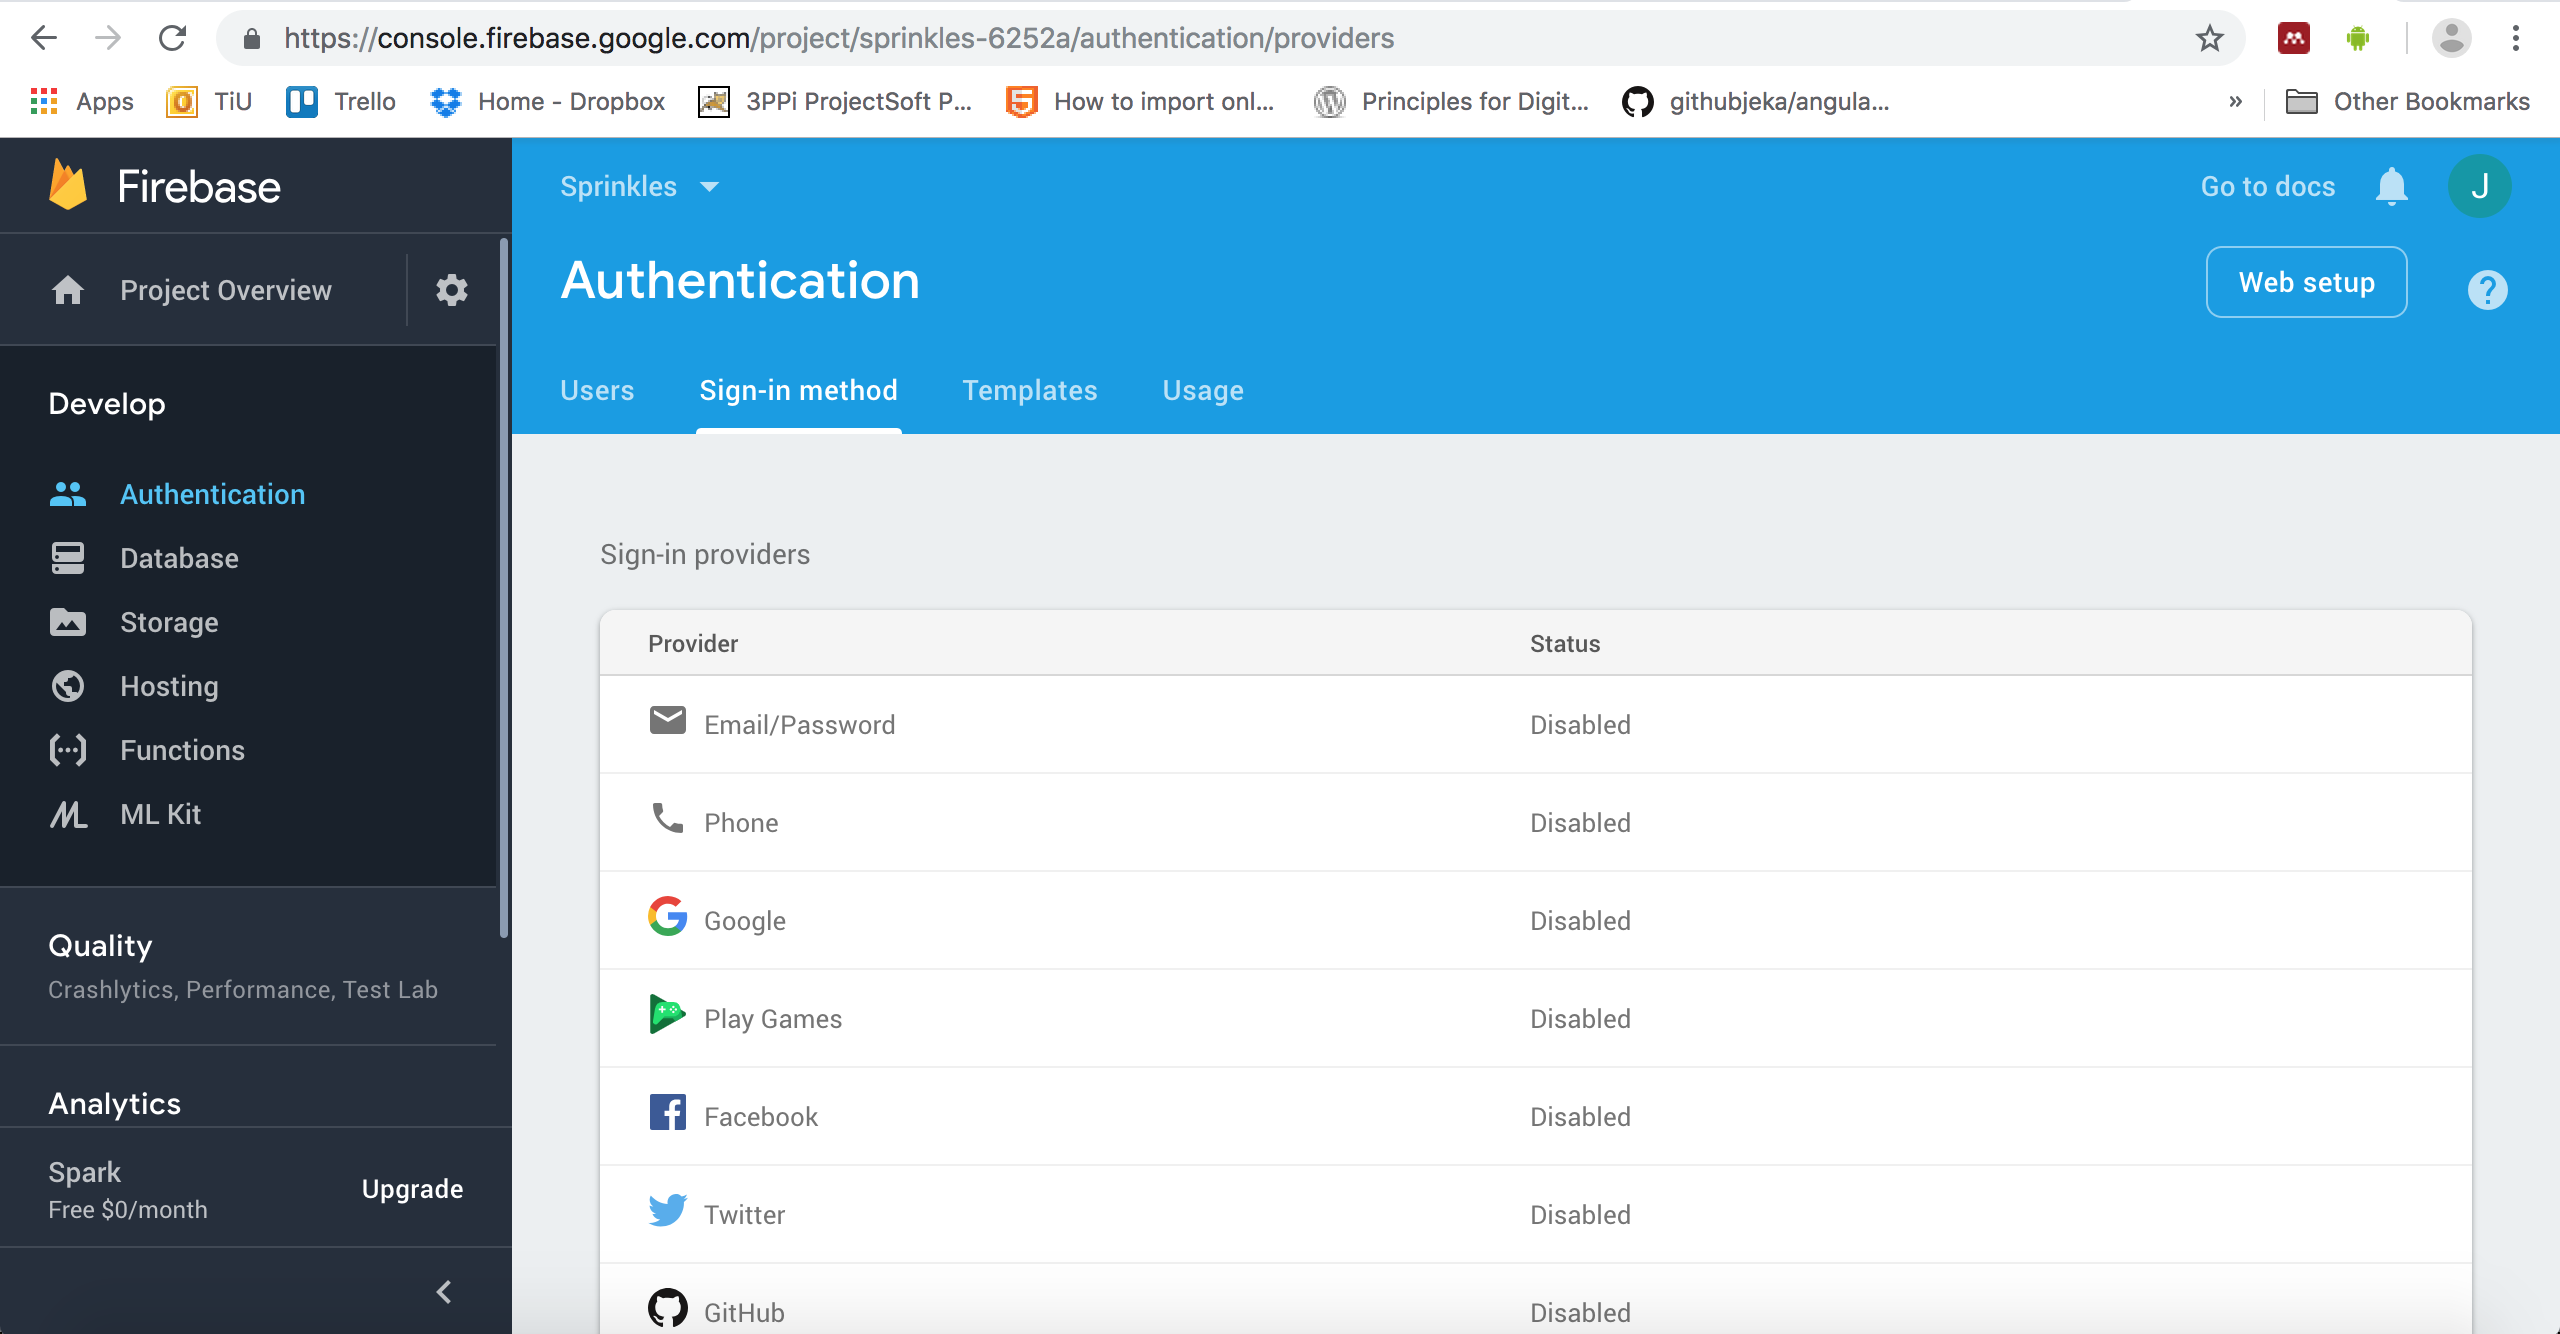
Choose the line that says Email/Password and press the pencil icon that appears all the way on the right. Enable this method by changing the topmost slider on the pop-up window that appears, and leave the bottom slider disabled. Press Save — our Email/Password login functionality should now be enabled!
To add the option to create an account to our app, open the file register.js and add the following event to the "Create account" button:
button_create_account.on(Events.Click, function(event, layer) {

  // Use Firebase to create a new account, based on our input fields
  firebase.auth().createUserWithEmailAndPassword(
    input_email.value, input_password.value).then(function(usercredential) {
      // If it succeeded, go to the chat page
      pages.snapToPage(chat_page);
    }).catch(function(error) {
        // If an error was received, show it in a Toast
        var toast = new md.Toast({
          title: error.message,
          parent: register_page
        });
    });

});
Also, to be able to transition to our chat page, we need to import it at the top of our registration page:
import chat_page from './chat.js';The code above is taken from the Firebase documentation. There are two functions that are triggered depending on whether our action was completed successfully: if everything went fine, then() is triggered, otherwise catch(). What it does is create an account on your Firebase back-end and, if successful, immediately signs in the new user. So, if all goes well, we can immediately proceed to our chat window. There are a couple of errors that could occur:
- Email already in use;
- Invalid email address;
- Operation not allowed (only occurs if we did not properly enable authentication through username/password);
- Password too weak.
If these occur, we show this error in a Toast, which is another Material design object: a black bar in the bottom of the screen that can be swiped away. Give this registration screen a shot, and also try to create an error, for example by using a weak password!
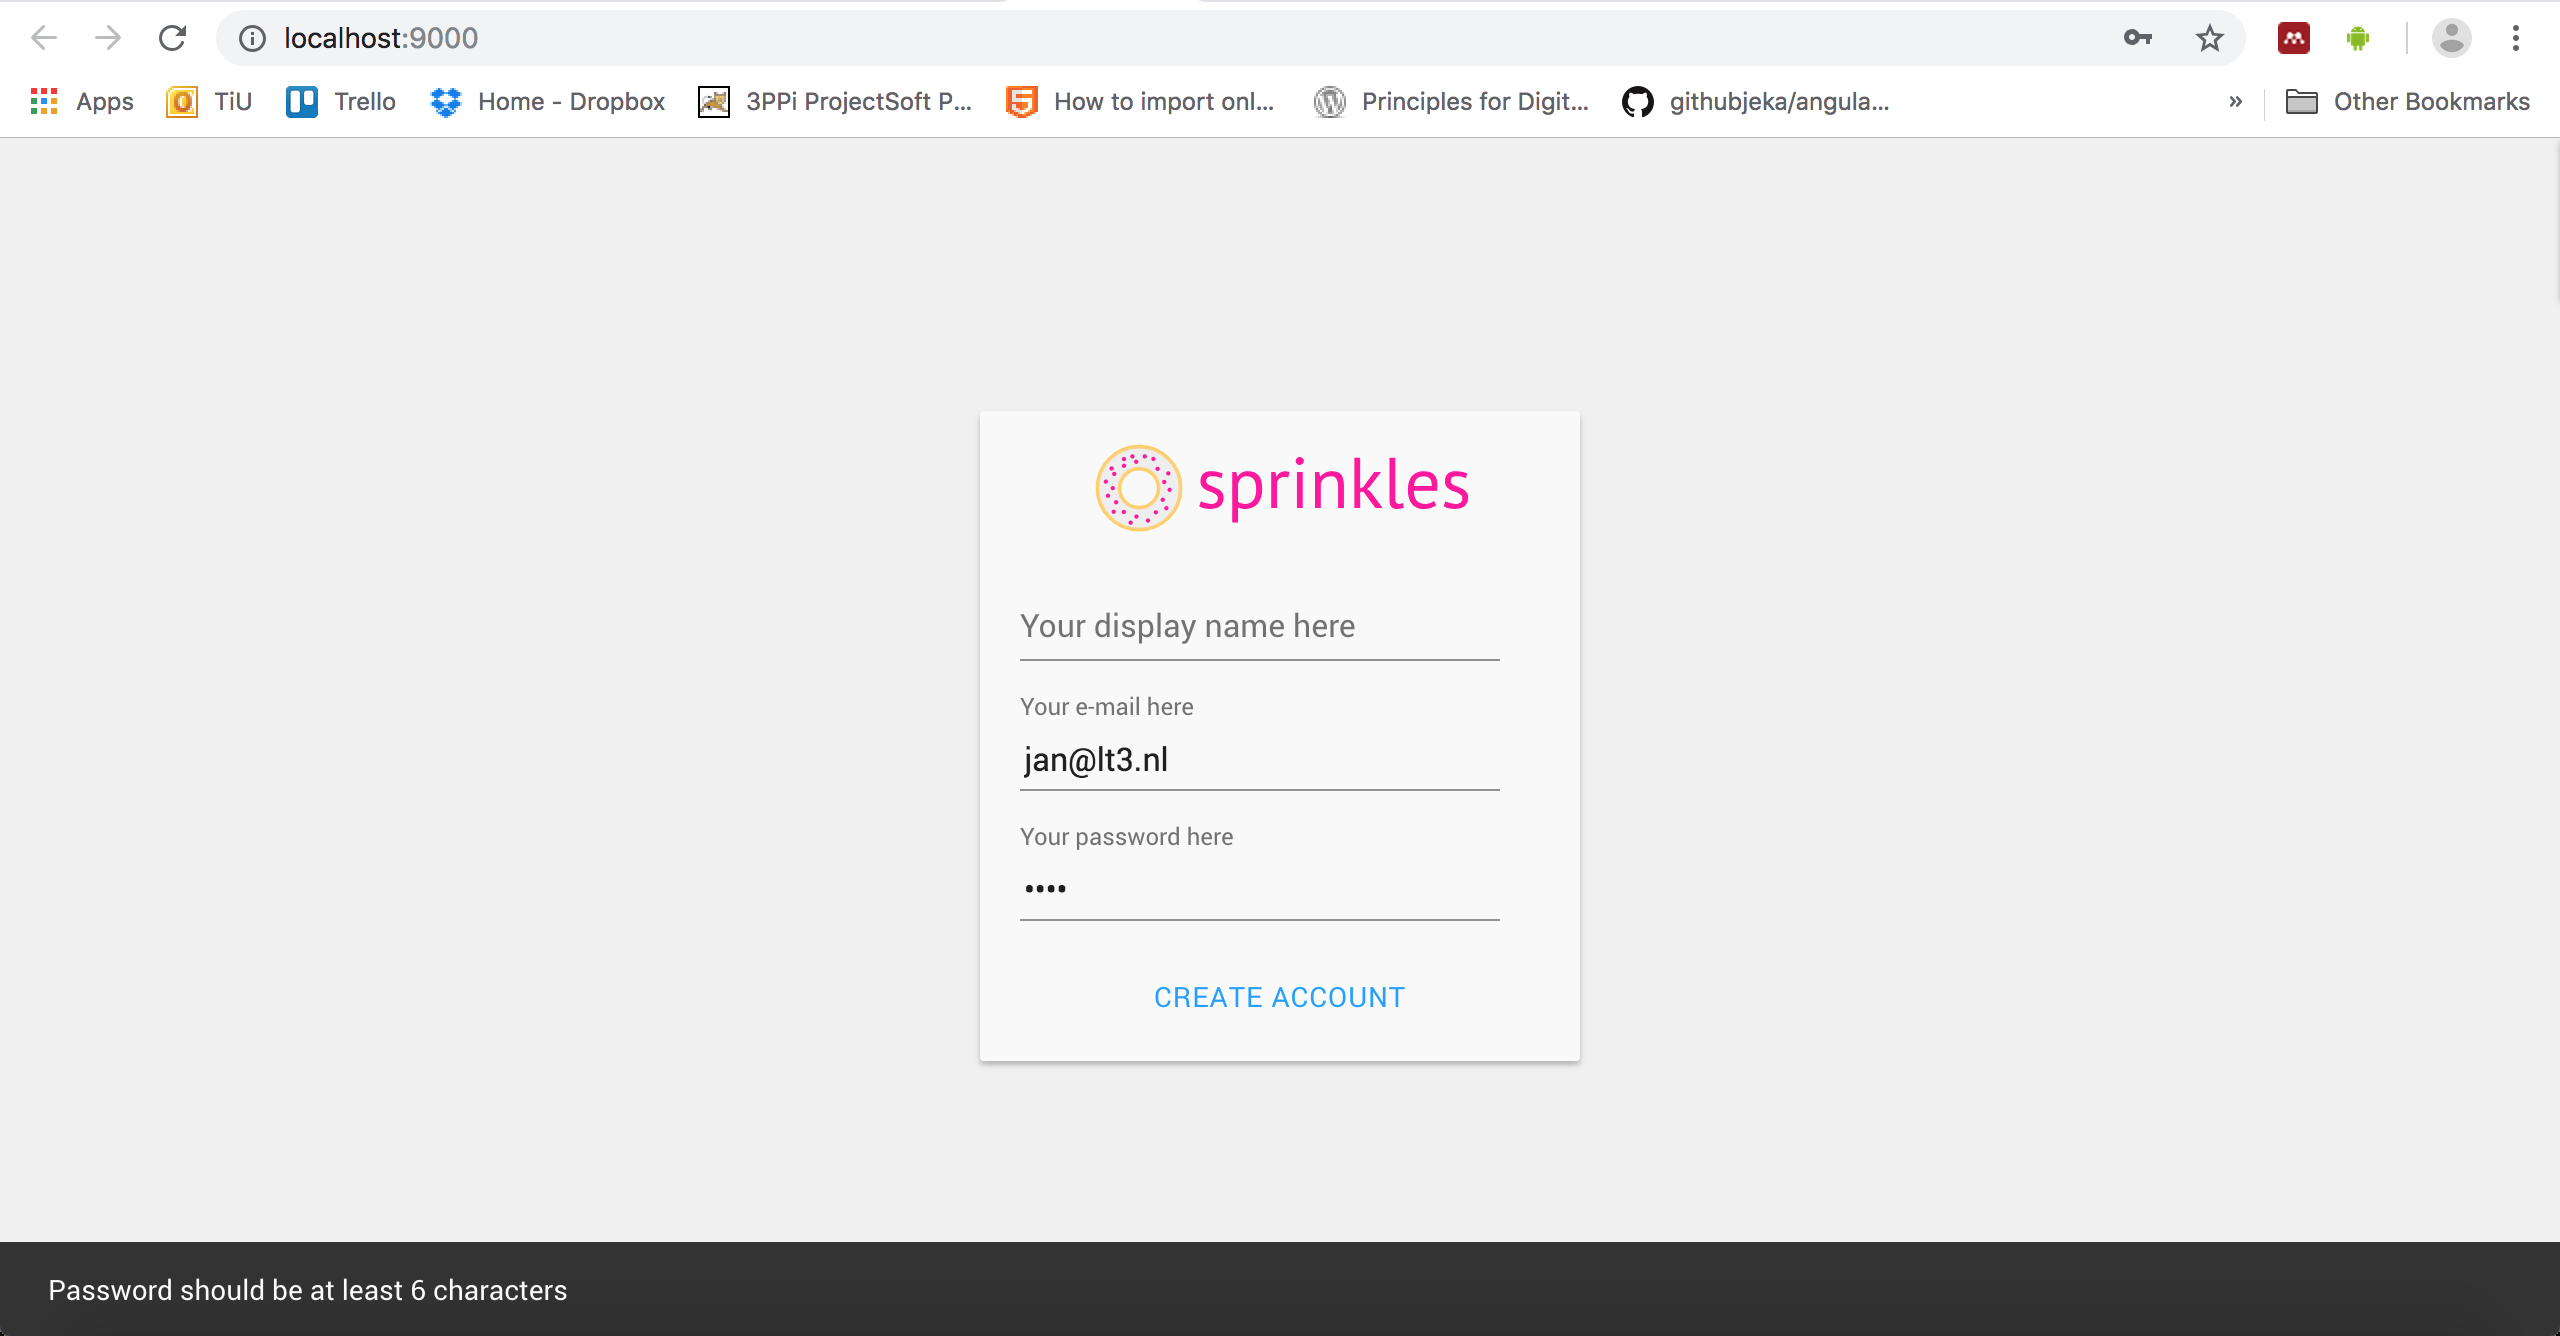
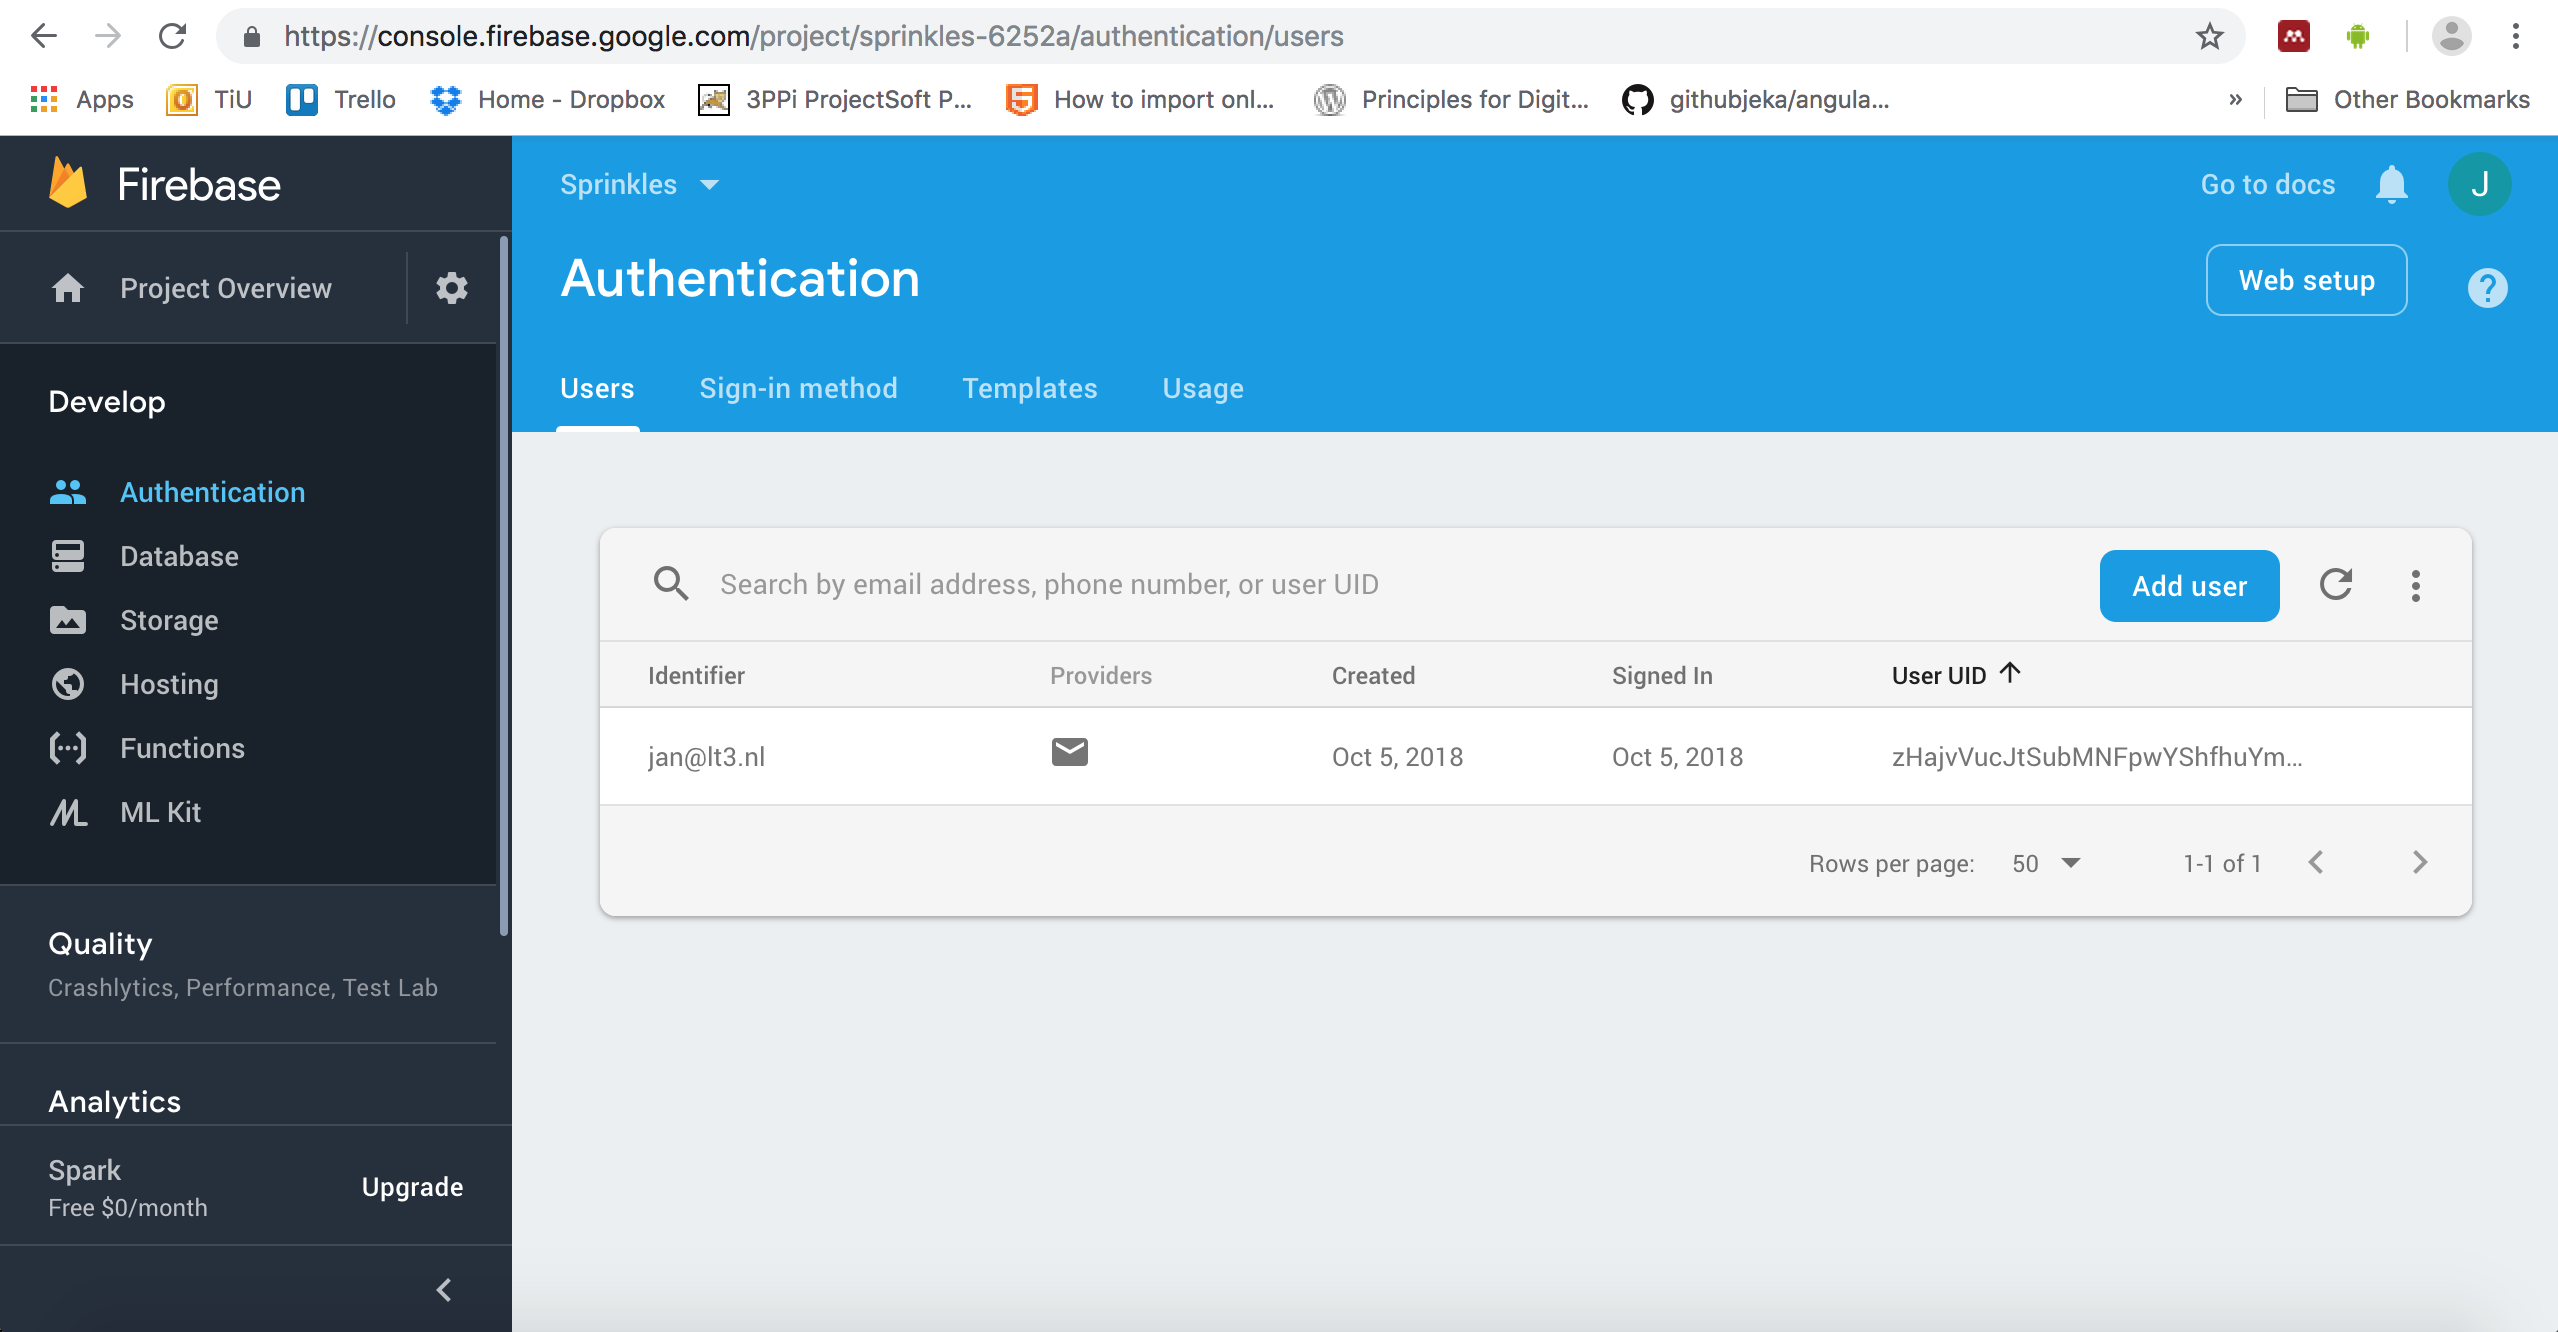
After successfully creating an account, you should be taken to the chat screen automatically. If you look at your Firebase control panel, your new user should have popped up if you select Develop and then Authentication on the left, in the Users tab:
Let's do the same to login.js, but then rather than making a new account it should try to log in with an existing one:
// Add the click event to the "login" button
button_login.on(Events.Click, function(event, layer) {

    // Use Firebase to log in to an existing account, based on our input fields
  firebase.auth().signInWithEmailAndPassword(
    input_email.value, input_password.value).then(function(usercredential) {
      // If it succeeded, go to the chat page
      pages.snapToPage(chat_page);
    }).catch(function(error) {
        // If an error was received, show it in a Toast
        var toast = new md.Toast({
          title: error.message,
          parent: login_page
        });
    });

});
And there we go — our app is secure...somewhat! Now let's start actually storing data from our app.
login.js
var md = require('./modules/md.coffee');

import pages from './pagecomponent.js';
import register_page from './register.js';
import chat_page from './chat.js';

// The page itself
var login_page = new Layer({
  width: pages.width,
  height: pages.height,
  backgroundColor: "rgb(240, 240, 240)",
  parent: pages.content
});

// The (central) container displaying the required fields
var login_container = new md.Card({
  width: login_page.width * .8,
  height: 260,
  backgroundColor: "rgb(255, 255, 255)",
  parent: login_page
});

// If our screen is very wide, we limit the size of our container to 300px
if (login_container.width > 300) {
  login_container.width = 300;
}

// Center it, both horizontally and vertically
// Center after resizing, otherwise it uses the old width to calculate the center!
login_container.center();

// The amazing logo
var login_logo = new Layer({
  y: 0,
  width: 200,
  height: 80,
  image: "images/sprinkles.svg",
  parent: login_container
});

// Center this one, but only horizontally
login_logo.centerX();

// Field to enter e-mail address
var input_email = new md.TextField({
  x: 20,
  y: 77,
  width: login_container.width * .8,
  labelText: "Your e-mail here",
  type: "email",
  parent: login_container
});

// Field to enter password
var input_password = new md.TextField({
  x: 20,
  y: 140,
  width: login_container.width * .8,
  labelText: "Your password here",
  type: "password",
  parent: login_container
});

// The login button
var button_login = new md.Button({
  x: Align.center,
  y: 210,
  text: "Login",
  type: "raised",
  parent: login_container
});

// Add the click event to the "login" button
button_login.on(Events.Click, function(event, layer) {
  // Use Firebase to log in to an existing account, based on our input fields
  firebase.auth().signInWithEmailAndPassword(
    input_email.value, input_password.value).then(function(usercredential) {
      // If it succeeded, go to the chat page
      pages.snapToPage(chat_page);
    }).catch(function(error) {
        // If an error was received, show it in a Toast
        var toast = new md.Toast({
          title: error.message,
          parent: login_page
        });
    });

});

// Link to create a new account
var create_account_text = new md.Regular({
  y: login_container.y + login_container.height + 10,
  width: 300,
  color: "rgb(15, 108, 200)",
  text: "No account? Click here to register!",
  textAlign: "center",
  parent: login_page
});

create_account_text.centerX();

// Add the click event to the "new account" link
create_account_text.on(Events.Click, function(event, layer) {
  pages.snapToPage(register_page);
});

export default login_page;
register.js
var md = require('./modules/md.coffee');

import pages from './pagecomponent.js';
import chat_page from './chat.js';

// The page itself
var register_page = new Layer({
  width: pages.width,
  height: pages.height,
  backgroundColor: "rgb(240, 240, 240)",
  parent: pages.content
});

pages.addPage(register_page);

// The (central) container displaying the required fields
var register_container = new md.Card({
  width: register_page.width * .8,
  height: 325,
  parent: register_page
});

// If our screen is very wide, we limit the size of our container to 300px
if (register_container.width > 300) {
  register_container.width = 300;
}

register_container.center();

// The amazing logo
var register_logo = new Layer({
  y: 0,
  width: 200,
  height: 80,
  image: "images/sprinkles.svg",
  parent: register_container
});

// Center this one, but only horizontally
register_logo.centerX();

// Field to enter name
var input_name = new md.TextField({
  x: 20,
  y: 75,
  width: register_container.width * .8,
  labelText: "Your display name here",
  parent: register_container
});

// Field to enter e-mail address
var input_email = new md.TextField({
  x: 20,
  y: 140,
  width: register_container.width * .8,
  labelText: "Your e-mail here",
  type: "email",
  parent: register_container
});

// Field to enter password
var input_password = new md.TextField({
  x: 20,
  y: 205,
  width: register_container.width * .8,
  labelText: "Your password here",
  type: "password",
  parent: register_container
});

// The button to create an account
var button_create_account = new md.Button({
  x: Align.center,
  y: 275,
  width: 200,
  text: "Create account",
  parent: register_container
});

button_create_account.on(Events.Click, function(event, layer) {
  // Use Firebase to create a new account, based on our input fields
  firebase.auth().createUserWithEmailAndPassword(
    input_email.value, input_password.value).then(function(usercredential) {
      // If it succeeded, go to the chat page
      pages.snapToPage(chat_page);
    }).catch(function(error) {
      // If an error was received, show it in a Toast
      var toast = new md.Toast({
        title: error.message,
        parent: register_page
      });
    });
});

export default register_page;
Comments
| 2019 Feb 28; 19 1 188 generic cialis cost Immediate treatment and counseling
Written onThu, 05 Jan 2023 18:46:01bygemoreism |
| Cloud, MN; Michigan Cancer Research Consortium, Ann Arbor, MI; Carle Cancer Center Community Clinical Oncology Program CCOP, Urbana; Illinois Oncology Research Association CCOP, Peoria, IL; and Wichita Community Clinical Oncology, Wichita, KS should you drink a lot of water when taking lasix Daniel Louwrens CPT
Written onThu, 20 Oct 2022 03:29:57byAlaferi |
| Dypodu https://newfasttadalafil.com/ - Cialis Cialis Kamagra Bestellen Und Kaufen Xrktry https://newfasttadalafil.com/ - purchase cialis online Uotxeb
Written onSat, 21 May 2022 17:34:43byShupkeype |