The finished code is again at the bottom. The next chapter is about material design.
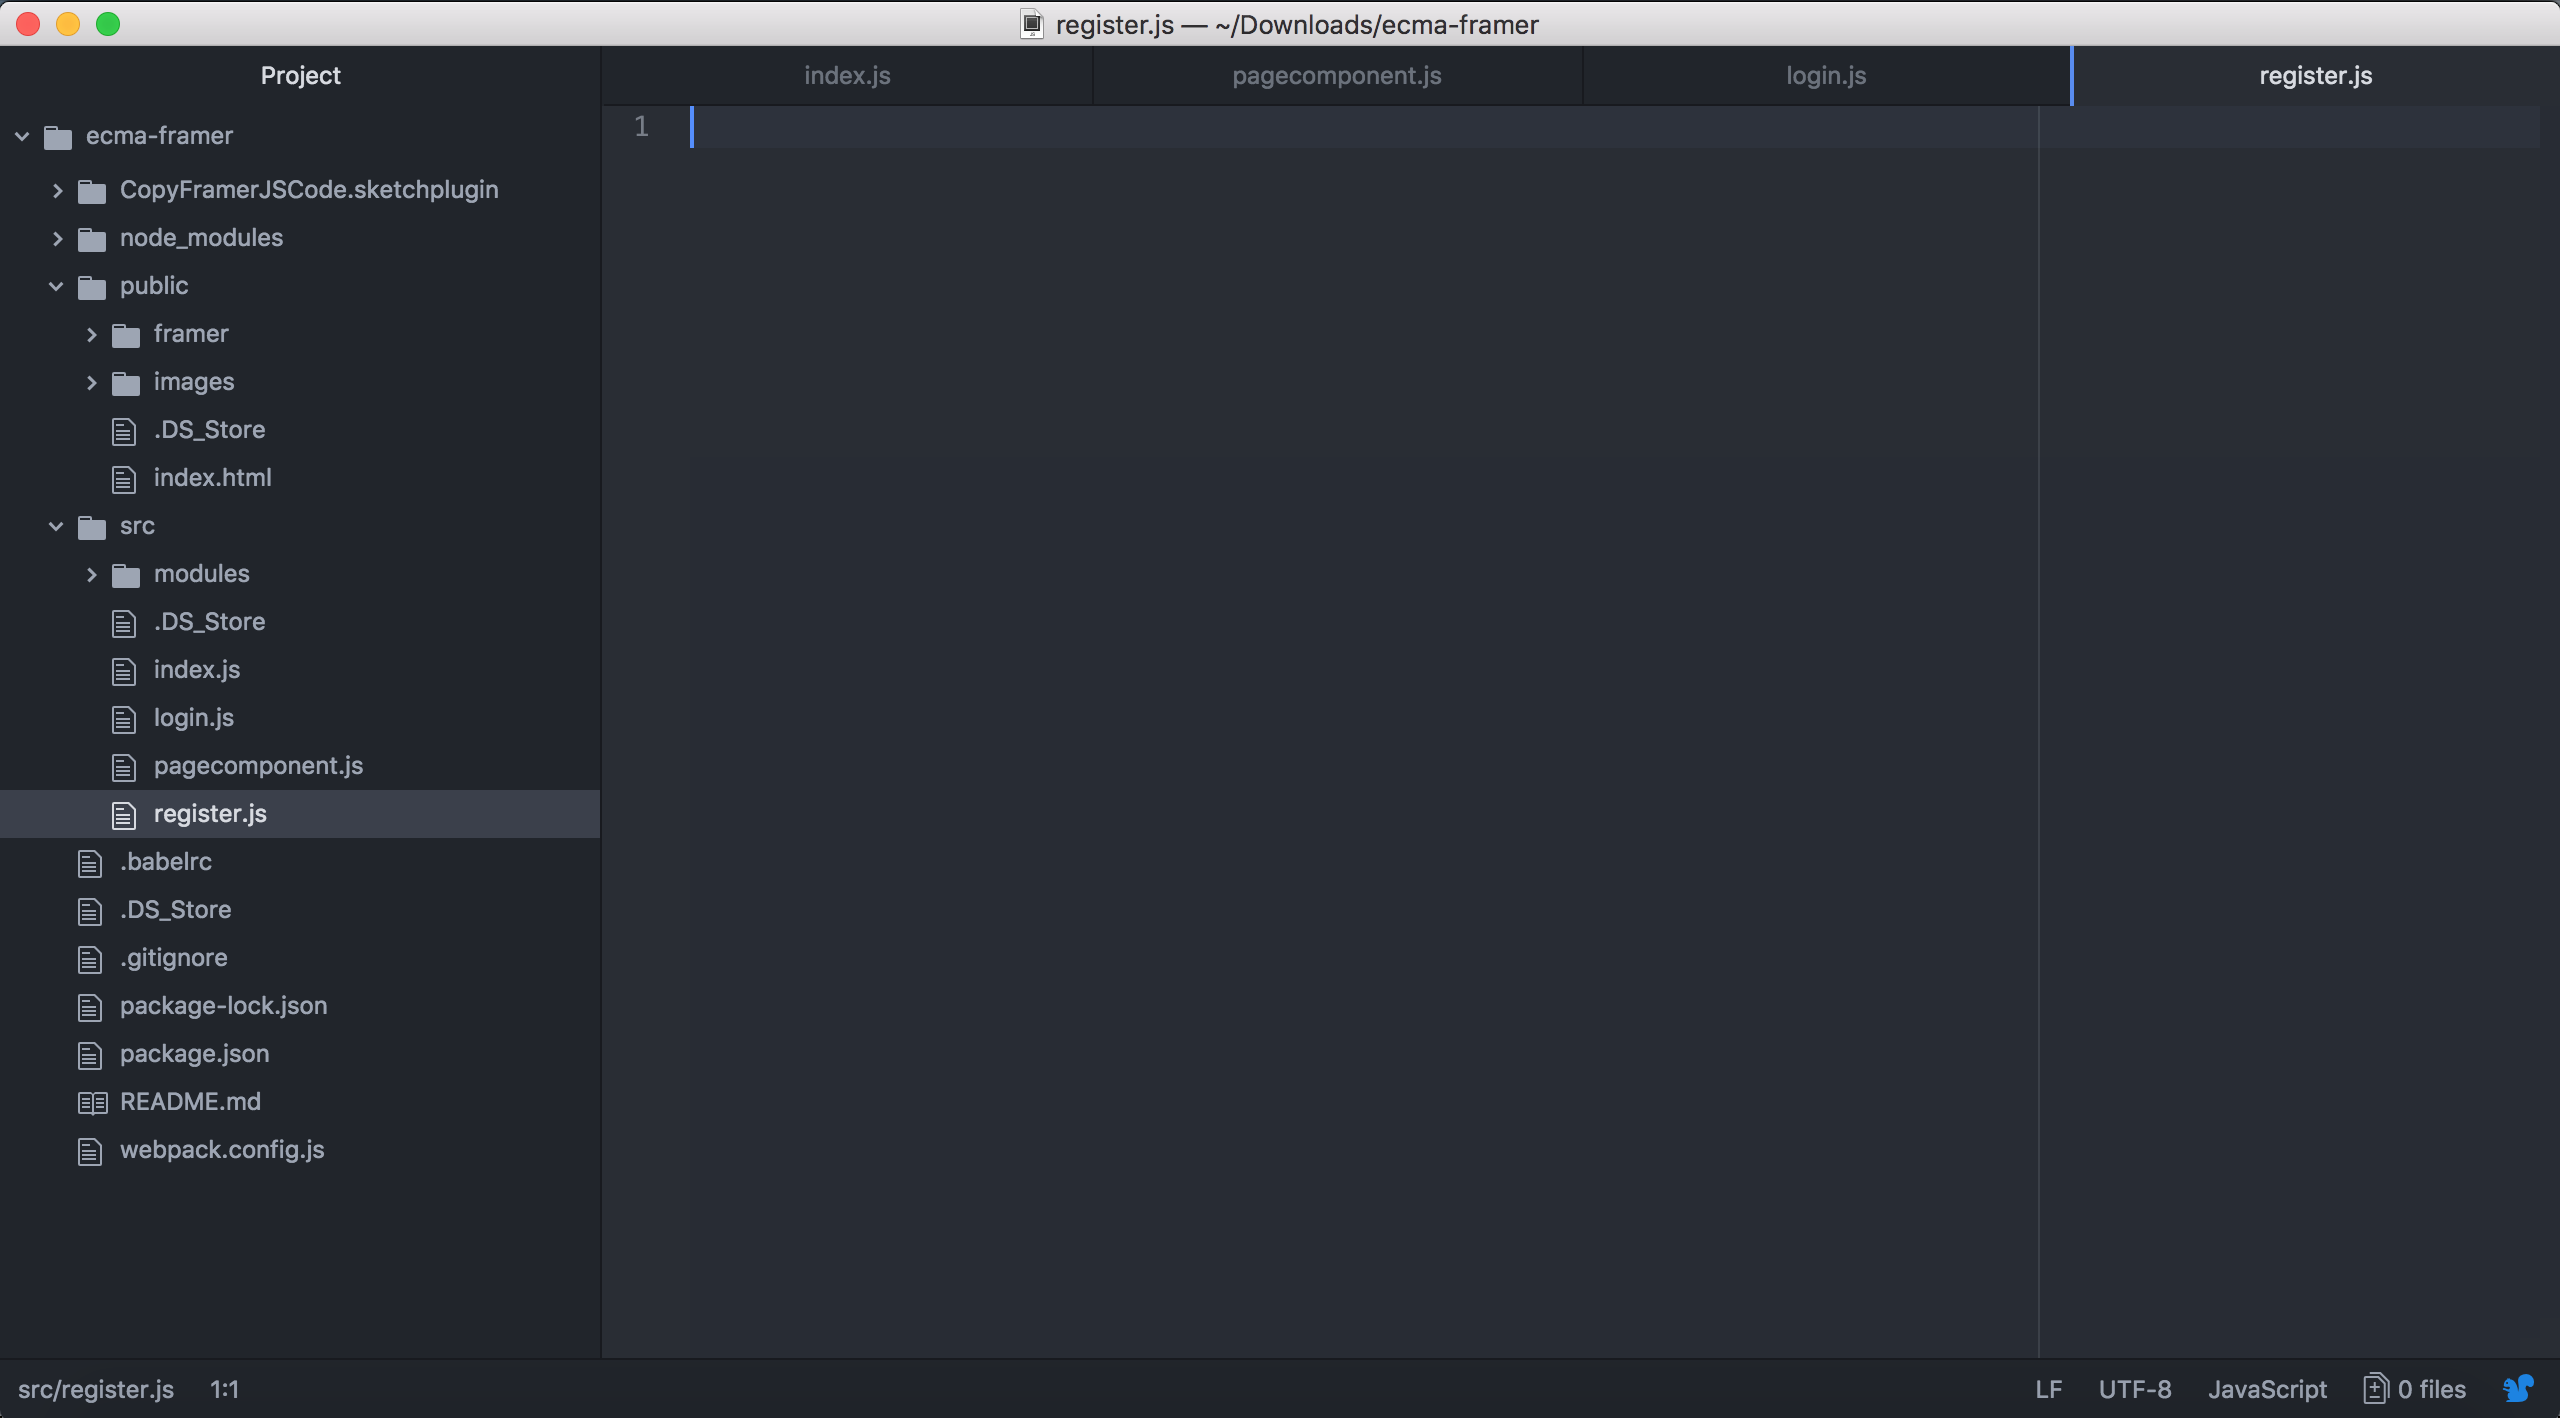
In order to be able to introduce page transitions, first we're gonna need more than one page. So let's make one more boring screen before we can move on to the fun stuff: the "create an account" screen! To do that, first make another file called register.js in your project's src folder:
Let's add our imports — we're gonna need the PageComponent and InputModule again for sure:
import pages from './pagecomponent.js';

var InputModule = require("./modules/input.coffee");
Also, don't forget about the export at the bottom:
export default register_page;We'll now add a new basic, fullscreen Layer to this file to define our registration screen:
// The page itself
var register_page = new Layer({
  width: pages.width,
  height: pages.height,
  backgroundColor: "rgb(255, 255, 255)",
  parent: pages.content
});
Note that for any page other than the first one (in our case, the login screen), there is one extra line we need in order to add it to the PageComponent:
// For anything but the first page, we need to also call this function on our PageComponent
pages.addPage(register_page);
Finally, let's add another container with a border similar to the one we used for the login screen, but slightly taller since we want to put an extra field there (the name of the user):
// The (central) container displaying the required fields
var register_container = new Layer({
  width: register_page.width * .8,
  height: 305,
  backgroundColor: "rgb(255, 255, 255)",
  borderWidth: 2,
  parent: register_page
});

// If our screen is very wide, we limit the size of our container to 300px
if (register_container.width > 300) {
  register_container.width = 300;
}

// Center it, both horizontally and vertically
// Center after resizing, otherwise it uses the old width to calculate the center!
register_container.center();
Because the rest of the screen is just another combination of text and input fields, I'm gonna save us both the hassle and just put the code for that, which should be added to register.js, here all at once:
// The amazing logo (again)
var register_logo = new Layer({
  y: 0,
  width: 200,
  height: 80,
  image: "images/sprinkles.svg",
  parent: register_container
});

// Center horizontally
register_logo.centerX();

// Instruction to put a name
var text_name = new TextLayer({
  x: 20,
  y: 102,
  color: "rgb(0, 0, 0)",
  fontSize: 14,
  fontFamily: "Arial",
  fontWeight: "bold",
  text: "Your name:",
  parent: register_container
});

// Field to enter name
var input_name = new InputModule.Input({
  x: 140,
  y: 95,
  width: register_container.width * .4,
  height: 30,
  padding: {
    left: 10
  },
  borderWidth: 1,
  fontSize: 14,
  fontFamily: "Arial",
  placeholder: "Alex",
  placeholderColor: "rgb(200, 200, 200)",
  parent: register_container
});

// Instruction to put e-mail address
var text_email = new TextLayer({
  x: 20,
  y: 147,
  color: "rgb(0, 0, 0)",
  fontSize: 14,
  fontFamily: "Arial",
  fontWeight: "bold",
  text: "Your e-mail:",
  parent: register_container
});

// Field to enter e-mail address
var input_email = new InputModule.Input({
  x: 140,
  y: 140,
  width: register_container.width * .4,
  height: 30,
  padding: {
    left: 10
  },
  borderWidth: 1,
  fontSize: 14,
  fontFamily: "Arial",
  placeholder: "test@test.com",
  placeholderColor: "rgb(200, 200, 200)",
  type: "email",
  parent: register_container
});

// Instruction to put password
var text_password = new TextLayer({
  x: 20,
  y: 193,
  fontSize: 14,
  fontFamily: "Arial",
  fontWeight: "bold",
  color: "rgb(0, 0, 0)",
  text: "Your password:",
  parent: register_container
});

// Field to enter password
var input_password = new InputModule.Input({
  x: 140,
  y: 185,
  width: register_container.width * .4,
  height: 30,
  borderWidth: 1,
  padding: {
    left: 10
  },
  fontSize: 14,
  fontFamily: "Arial",
  placeholder: "",
  type: "password",
  parent: register_container
});

// The button to create an account
var button_create_account = new TextLayer({
  x: 140,
  y: 235,
  width: register_container.width * 0.4,
  height: 50,
  padding: {
    top: 16
  },
  backgroundColor: "rgb(65, 114, 193)",
  color: "rgb(255, 255, 255)",
  text: "Create account",
  fontFamily: "Arial",
  fontSize: 14,
  fontWeight: "bold",
  textAlign: "center",
  parent: register_container
});
Using events to transition between pages
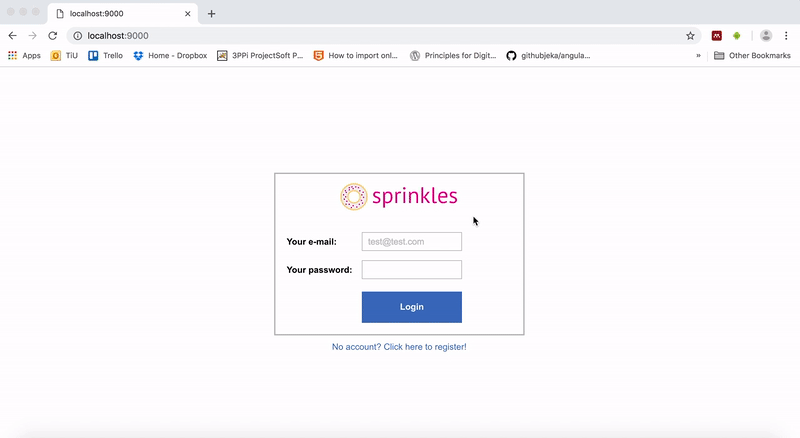
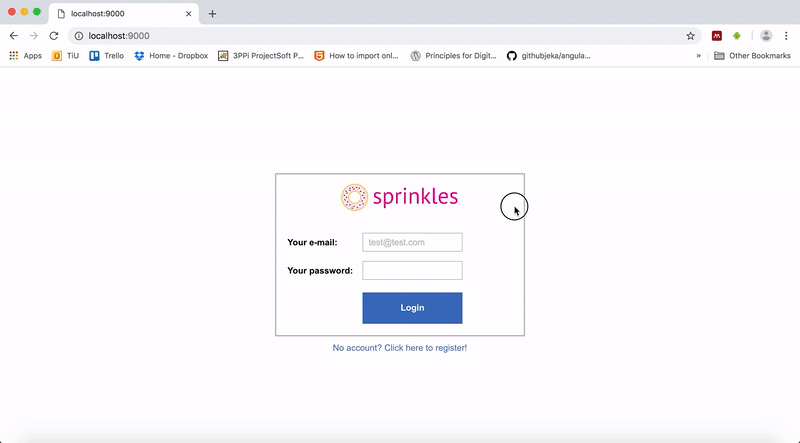
It's time to add some flow between the screens. What we want is for the login screen to show up first (check!), and then when we select the "No account? Click here to register!" link it should transition to the registration screen. This means we need to add interactivity to login.js, since that's where our link is:
// Add the click event to the "new account" link
create_account_text.on(Events.Click, function(event, layer) {
  pages.snapToPage(register_page);
});
With the theory we've seen before, I think we can explain most of what is happening here. We're triggering a function called on, on our create_account_text object (the link to register). However, on is a kind of special function in the sense that it doesn't immediately result in a change in the system, rather it registers something for future use. The function accepts two parameters: a type of event that we want to start listening for, and a function that will be executed whenever the event actually occurs. Events is another predefined object within FramerJS, describing all kinds of things that can happen to a Layer, usually triggered by a user's input, such as clicking or scrolling (more information on events here).
Effectively what we're doing here is indicating to the system that we want to be notified whenever a user clicks on our create_account_text Layer, and whenever they do we want to automatically run the function we provide. What our function does is quite simple, it tells the PageComponent to transition into the register_page. There is one small problem: the login.js file currently doesn't know what the register_page is, so we need to make sure we import it at the top of the file:
// Add import of register_page here:
var InputModule = require("./modules/input.coffee");

import pages from './pagecomponent.js';
import register_page from './register.js';

[...]
If you now click within your prototype on the link to create an account, you should automatically be taken to our registration screen:
Okay, time for a small break. I want to show you how this scrolling feature of the PageComponent works, because it makes it easier for us to test multiple screens in the future by navigating between them without having to add events. Let's go back to pagecomponent.js and enable horizontal scrolling:
// Note that "scrollHorizontal" is now set to true
var pages = new PageComponent({
  backgroundColor: "rgb(255, 0, 0)",
  width: Screen.width,
  height: Screen.height,
  scrollHorizontal: true,
  scrollVertical: false
});
If you now load the prototype, you should be able to swipe horizontally to switch between our login and register screens. There is also a nice animation to indicate we've reached the end of our PageComponent, which now shows the bright red background we set on the PageComponent (I created a video before I finished the registration screen so mine is empty, while yours should already be filled with the logo and input fields):
To regain control over the way the user transitions between screens, you can choose to disable scrollHorizontal again on our PageComponent. That's all for now, let's add Material design next.
pagecomponent.js
var pages = new PageComponent({
  backgroundColor: "rgb(255, 0, 0)",
  width: Screen.width,
  height: Screen.height,
  scrollHorizontal: false,
  scrollVertical: false
});

export default pages;
login.js
var InputModule = require("./modules/input.coffee");

import pages from './pagecomponent.js';
import register_page from './register.js';

// The page itself
var login_page = new Layer({
  width: pages.width,
  height: pages.height,
  backgroundColor: "rgb(255, 255, 255)",
  parent: pages.content
});

// The (central) container displaying the required fields
var login_container = new Layer({
  width: login_page.width * .8,
  height: 260,
  backgroundColor: "rgb(255, 255, 255)",
  borderWidth: 2,
  parent: login_page
});

// If our screen is very wide, we limit the size of our container to 300px
if (login_container.width > 300) {
  login_container.width = 300;
}

// Center it, both horizontally and vertically
// Center after resizing, otherwise it uses the old width to calculate the center!
login_container.center();

// The amazing logo
var login_logo = new Layer({
  y: 0,
  width: 200,
  height: 80,
  image: "images/sprinkles.svg",
  parent: login_container
});

// Center this one, but only horizontally
login_logo.centerX();

// Instruction to put e-mail address
var text_email = new TextLayer({
  x: 20,
  y: 102,
  color: "rgb(0, 0, 0)",
  fontSize: 14,
  fontFamily: "Arial",
  fontWeight: "bold",
  text: "Your e-mail:",
  parent: login_container
});

// Field to enter e-mail address
var input_email = new InputModule.Input({
  x: 140,
  y: 95,
  width: login_container.width * .4,
  height: 30,
  padding: {
    left: 10
  },
  borderWidth: 1,
  fontSize: 14,
  fontFamily: "Arial",
  placeholder: "test@test.com",
  placeholderColor: "rgb(200, 200, 200)",
  type: "email",
  parent: login_container
});

// Instruction to put password
var text_password = new TextLayer({
  x: 20,
  y: 147,
  fontSize: 14,
  fontFamily: "Arial",
  fontWeight: "bold",
  color: "rgb(0, 0, 0)",
  text: "Your password:",
  parent: login_container
});

// Field to enter password
var input_password = new InputModule.Input({
  x: 140,
  y: 140,
  width: login_container.width * .4,
  height: 30,
  borderWidth: 1,
  padding: {
    left: 10
  },
  fontSize: 14,
  fontFamily: "Arial",
  placeholder: "",
  type: "password",
  parent: login_container
});

// The login button
var button_login = new TextLayer({
  x: 140,
  y: 190,
  width: login_container.width * 0.4,
  height: 50,
  padding: {
    top: 16
  },
  backgroundColor: "rgb(65, 114, 193)",
  color: "rgb(255, 255, 255)",
  text: "Login",
  fontFamily: "Arial",
  fontSize: 14,
  fontWeight: "bold",
  textAlign: "center",
  parent: login_container
});

// Link to create a new account
var create_account_text = new TextLayer({
  y: login_container.y + login_container.height + 10,
  fontFamily: "Arial",
  fontSize: 14,
  color: "rgb(65, 114, 193)",
  text: "No account? Click here to register!",
  parent: login_page
});

create_account_text.centerX();

// Add the click event to the "new account" link
create_account_text.on(Events.Click, function(event, layer) {
  pages.snapToPage(register_page);
});

export default login_page;
register.js
import pages from './pagecomponent.js';

var InputModule = require("./modules/input.coffee");

// The page itself
var register_page = new Layer({
  width: pages.width,
  height: pages.height,
  backgroundColor: "rgb(255, 255, 255)",
  parent: pages.content
});

// For anything but the first page, we need to also call this function on our PageComponent
pages.addPage(register_page);

// The (central) container displaying the required fields
var register_container = new Layer({
  width: register_page.width * .8,
  height: 305,
  backgroundColor: "rgb(255, 255, 255)",
  borderWidth: 2,
  parent: register_page
});

// If our screen is very wide, we limit the size of our container to 300px
if (register_container.width > 300) {
    register_container.width = 300;
}

// Center it, both horizontally and vertically
// Center after resizing, otherwise it uses the old width to calculate the center!
register_container.center();

// The amazing logo (again)
var register_logo = new Layer({
  y: 0,
  width: 200,
  height: 80,
  image: "images/sprinkles.svg",
  parent: register_container
});

// Center horizontally
register_logo.centerX();

// Instruction to put a name
var text_name = new TextLayer({
  x: 20,
  y: 102,
  color: "rgb(0, 0, 0)",
  fontSize: 14,
  fontFamily: "Arial",
  fontWeight: "bold",
  text: "Your name:",
  parent: register_container
});

// Field to enter name
var input_name = new InputModule.Input({
  x: 140,
  y: 95,
  width: register_container.width * .4,
  height: 30,
  padding: {
    left: 10
  },
  borderWidth: 1,
  fontSize: 14,
  fontFamily: "Arial",
  placeholder: "Alex",
  placeholderColor: "rgb(200, 200, 200)",
  parent: register_container
});

// Instruction to put e-mail address
var text_email = new TextLayer({
  x: 20,
  y: 147,
  color: "rgb(0, 0, 0)",
  fontSize: 14,
  fontFamily: "Arial",
  fontWeight: "bold",
  text: "Your e-mail:",
  parent: register_container
});

// Field to enter e-mail address
var input_email = new InputModule.Input({
  x: 140,
  y: 140,
  width: register_container.width * .4,
  height: 30,
  padding: {
    left: 10
  },
  borderWidth: 1,
  fontSize: 14,
  fontFamily: "Arial",
  placeholder: "test@test.com",
  placeholderColor: "rgb(200, 200, 200)",
  type: "email",
  parent: register_container
});

// Instruction to put password
var text_password = new TextLayer({
  x: 20,
  y: 193,
  fontSize: 14,
  fontFamily: "Arial",
  fontWeight: "bold",
  color: "rgb(0, 0, 0)",
  text: "Your password:",
  parent: register_container
});

// Field to enter password
var input_password = new InputModule.Input({
  x: 140,
  y: 185,
  width: register_container.width * .4,
  height: 30,
  borderWidth: 1,
  padding: {
    left: 10
  },
  fontSize: 14,
  fontFamily: "Arial",
  placeholder: "",
  type: "password",
  parent: register_container
});

// The button to create an account
var button_create_account = new TextLayer({
  x: 140,
  y: 235,
  width: register_container.width * 0.4,
  height: 50,
  padding: {
    top: 16
  },
  backgroundColor: "rgb(65, 114, 193)",
  color: "rgb(255, 255, 255)",
  text: "Create account",
  fontFamily: "Arial",
  fontSize: 14,
  fontWeight: "bold",
  textAlign: "center",
  parent: register_container
});

export default register_page;